Curls respond best to methods designed for their texture, and detangling is no exception. The wrong approach can create frizz, breakage, or uneven definition, but the right one keeps curls healthy and manageable between washes.
This guide explains how to detangle curly hair step-by-step, from prepping with moisture and slip to using tools that protect the curl pattern. You’ll also learn techniques for working through knots, avoiding common mistakes, and keeping tangles from coming back. These are the same principles our stylists follow in-salon, adapted so you can maintain strong, defined curls at home.
Step 1: Know Your Curl Type
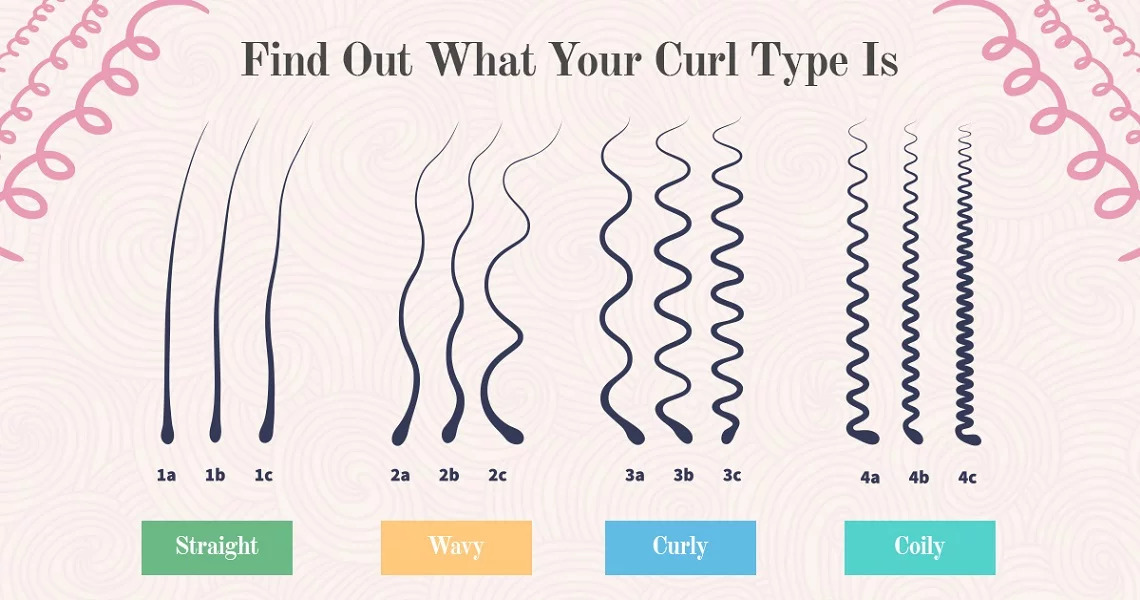
Curl type directly affects how hair tangles and how it should be detangled. Wavy hair (Type 2) often forms looser knots that respond well to lightweight conditioners and quick finger-detangling. Curly hair (Type 3) usually needs more slip and smaller sections, as the spirals interlock more easily. Coily (Type 4) is the most delicate and requires slow, careful work with plenty of moisture to avoid breakage.
A good starting point is identifying where your curls fall on the curl type chart. Once you know your type, you’ll be able to choose a conditioner with enough slip for your texture, adjust the size of the sections you work in, and decide on a tool, such as a wide-tooth comb, for detangling.
Step 2: Prep Hair Before Detangling

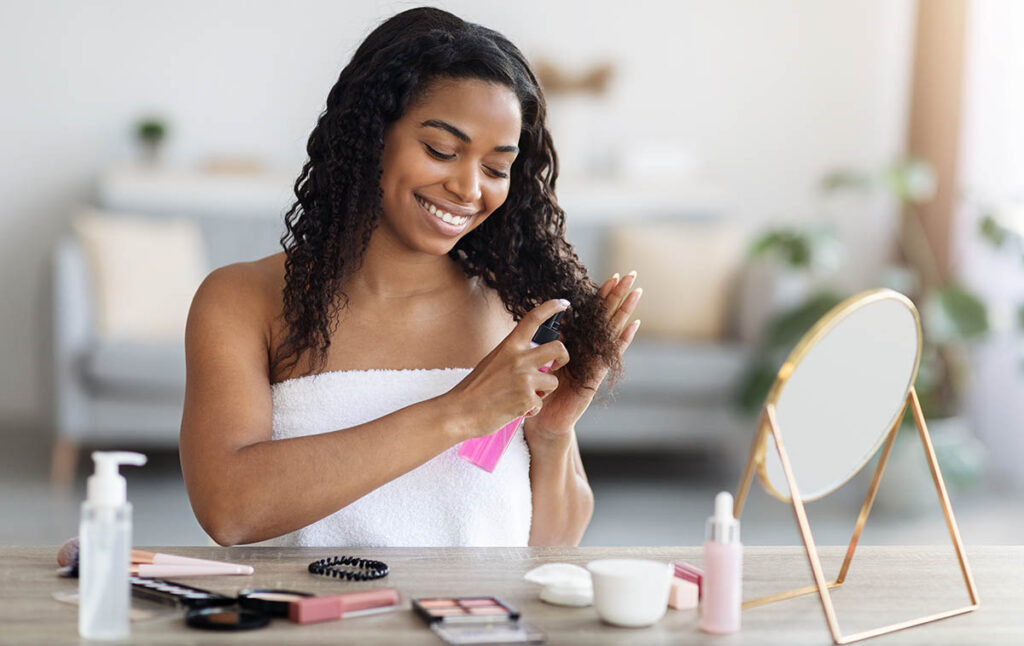
Water softens the hair cuticle, making it more pliable and less prone to damage during detangling. Starting with wet or soaking wet hair creates the best environment for the strands to glide past each other instead of snagging.
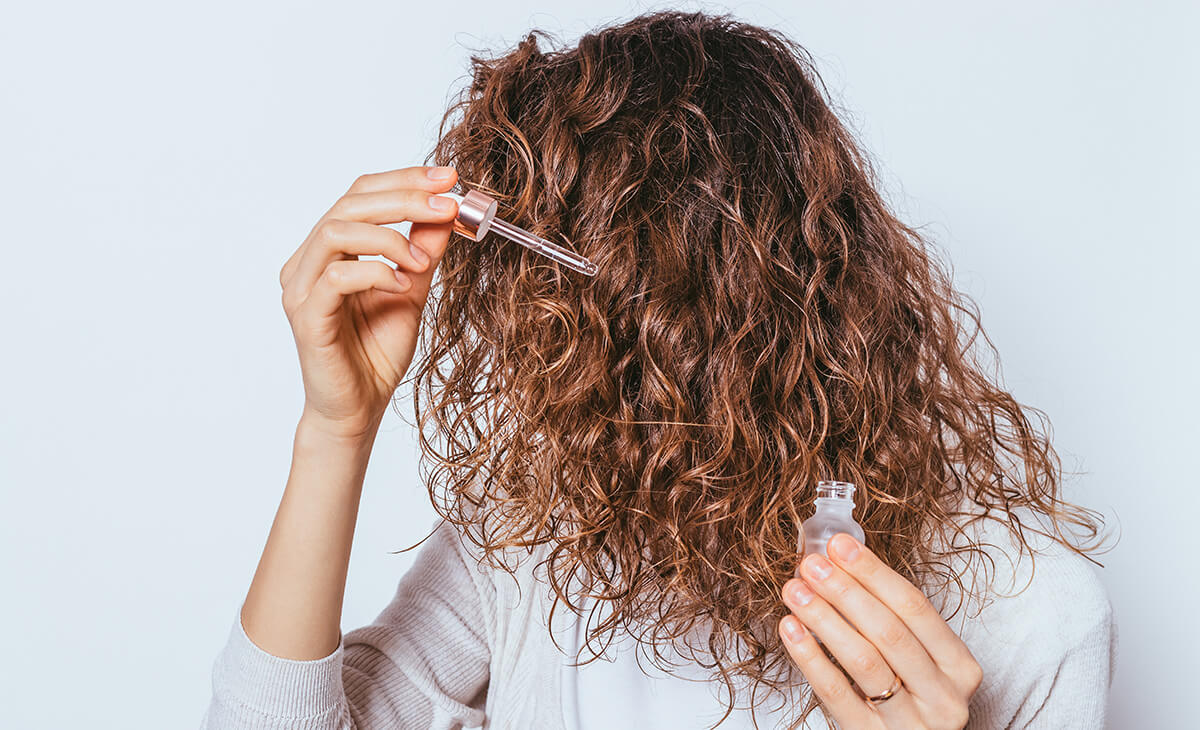
Products formulated for slip cushion each strand so the comb or fingers can pass through easily. A generous amount of conditioner, hydrating curly hair treatments, which can give you the added slip needed to reduce friction and protect the curl pattern.
Working in sections gives you control and helps you focus on one area at a time. Smaller sections prevent hair from re-tangling as you work and ensure the conditioner coats every strand. Use clips to keep unworked sections out of the way. This method not only speeds up the process but also minimizes stress on the hair shaft.
Step 3: Choose the Right Tools
The right tool can make detangling faster, gentler, and more effective. The choice depends on curl type, density, and the extent of tangling. Using a combination often delivers the best results.
- Fingers – Offer the most control for locating and loosening individual knots. Ideal for the first pass to separate large sections and release tight tangles without disturbing the curl pattern.
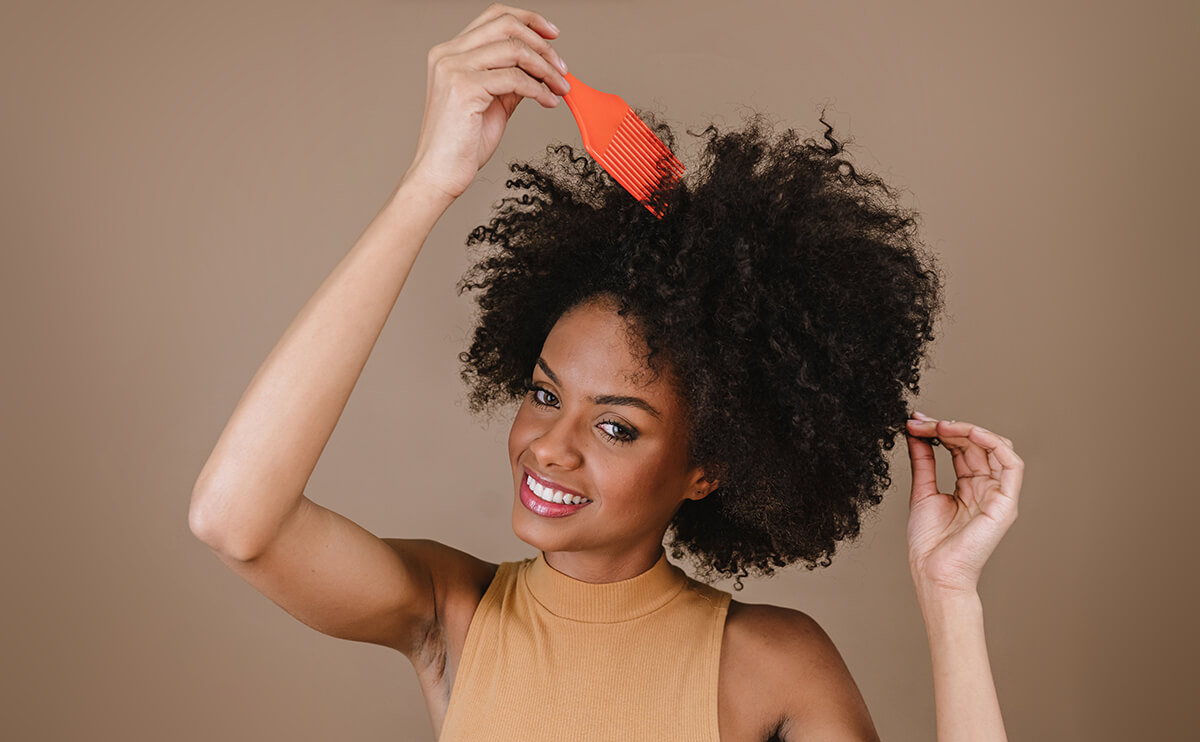
- Wide-tooth comb – Best for distributing conditioner evenly and removing tangles after finger-detangling. The wide spacing reduces tension and protects curl definition. Works well on all curl types when hair is wet and coated with slip.
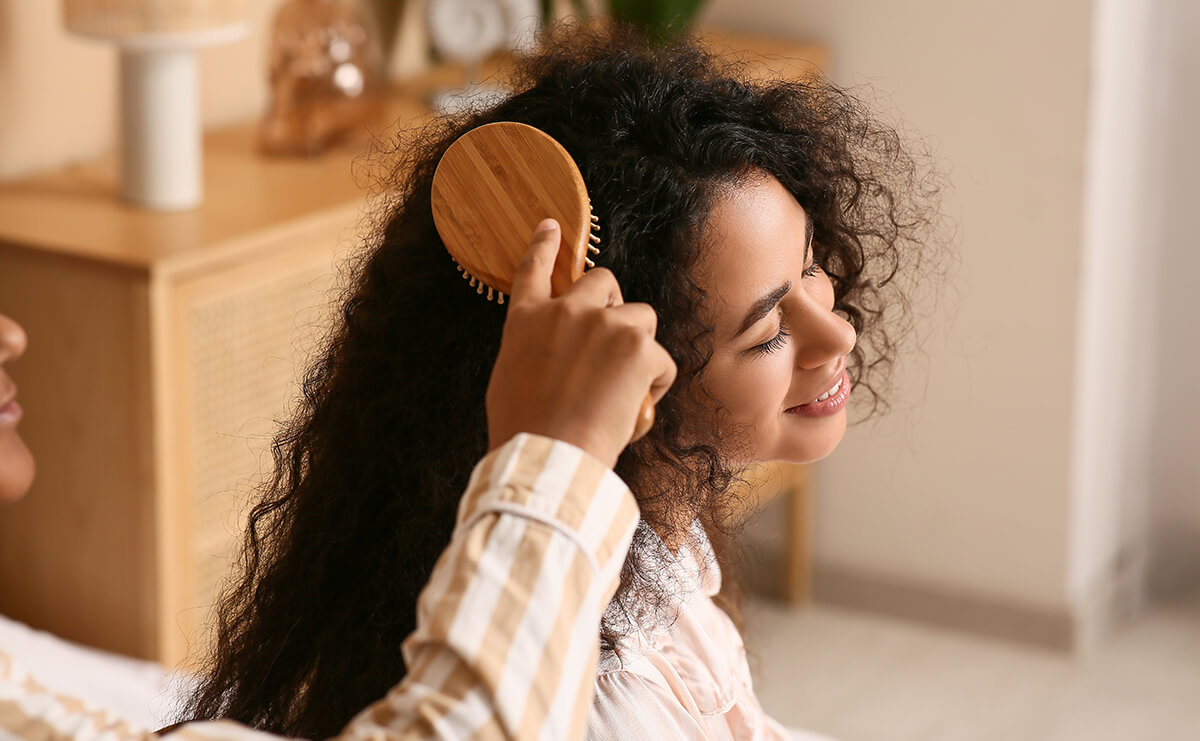
- Detangling brush – Best use when hair is soaking wet with your conditioner in. Look for brushes with flexible bristles that bend with the hair to prevent pulling and breakage.
- Sectioning clips – Keep unworked sections out of the way and prevent them from re-tangling while you focus on one area at a time.
Step 4: Detangle in Sections from Ends to Roots

Work one section at a time to keep the process manageable and prevent new tangles from forming. Hold the section near the root to stabilize it, then begin detangling at the ends. Gently loosen the outermost knots before moving a little higher. Each pass should cover a slightly longer portion of hair until you reach the scalp. This gradual approach protects the hair shaft and keeps curl clumps intact.
If the section starts to dry, mist it with water and add more conditioner or detangling spray for slip. Resistance is a signal to slow down and reapply product rather than forcing the tool through. Use your fingers to separate stubborn knots before switching back to a wide-tooth comb or brush.
Step 5: Handle Stubborn Knots with Care

If the knot is tight, work from the outside in, loosening the outer hairs before addressing the core of the tangle. Avoid yanking, as this can cause breakage or pull out healthy strands. In some cases, especially if the knot is fused or matted, snipping it out may be the least damaging option.
When tangles are frequent or severe, we can also professionally detangle your hair at our curly hair salons for an added fee to help reset your hair’s condition and make future detangling much easier. Regular trims and consistent moisture care at home will also reduce the likelihood of stubborn knots forming.
Step 6: Aftercare to Prevent Future Tangles
The work you do after detangling determines how long your curls stay smooth. Lock in moisture while hair is still damp with a leave-in conditioner or light cream. This step helps curls set in shape and reduces the friction that causes new knots. Once styled, let hair dry without constant touching so the curl pattern remains intact.
Between wash days, keep tangles at bay with a light mist of water or a curl refresher spray. Adding a small amount of leave-in or oil to dry spots restores slip, making curls easier to manage until your next wash.
Nighttime protection is just as important. Sleeping on a satin or silk pillowcase, or wearing a bonnet or scarf, prevents rough fabric from disturbing the cuticle. A loose pineapple at the crown keeps longer hair organized, while shorter styles benefit from a simple bonnet or scarf wrap.
Gentle handling goes a long way. Blot or scrunch (depending on your curl pattern) with a microfibre towel or soft cotton T-shirt after washing instead of rubbing with terry cloth, and schedule trims every 3-6 months to remove ends that catch easily.
Common Mistakes to Avoid

Avoiding these missteps helps keep your curls in their best shape—less frizz, fewer breakages, and a smoother detangling experience every time.
- Detangling dry
Curls look fine while dry, but brushing in that state disrupts the pattern and causes frizz. Curly textures hold better when detangled wet, with conditioner or slip. - Skipping sections
Working in large chunks may seem faster, but it ushers in hidden tangles. Sectioning your hair lets you cover every strand, making detangling precise and efficient. - Using the wrong tools
Fine-tooth combs and standard brushes cause frizz and break chords in curl clumps. Wide-tooth combs and flexible brushes glide through hair without pulling it apart. - Rough towel drying
Terry cloth towels lift cuticles and add frizz. Microfiber or soft cotton T-shirts blot gently and keep the curl surface smooth. - Skipping clarifying treatments and trims
Product build-up robs hair of slip and causes tangles. Clarify when hair starts feeling heavy, then follow with a deep conditioner. Regular trims (every 8–12 weeks) remove ends that snag and mat. - Tying up hair when wet
Wet hair stretches and is vulnerable. Secure styles like buns or ponytails can create stress points that tangle or snap hair as it dries. Let hair air-dry partially first.
Quick FAQs
How often should I detangle curly hair?
Most curl types benefit from detangling on every wash day. Doing it twice—once before shampooing and again while conditioning—helps reduce knots, shed loose hairs, and improve curl definition.
Is dry detangling ever okay?
Dry detangling can work for stronger curl patterns or when hair is lightly stretched, but it requires gentle tools and extra patience. For most curl types, wet detangling with slip remains the safest option to avoid breakage.
Should I detangle before or after shampooing?
Detangling before shampooing prevents tangles from tightening during washing. A quick finger-detangle before cleansing also helps loosen shed hairs and makes the conditioning step faster.
What do I do when detangling takes too long?
Break the hair into smaller sections and work through one at a time. Keep each section fully coated with conditioner or detangler, and reapply slip whenever you feel resistance.
Can one product make detangling easier?
A good slip-rich conditioner or detangling spray can cut combing time in half. Look for curly hair products that smooth the cuticle and add lubrication without weighing down your curls.
Restore Smooth, Defined Curls Today

Detangling curly hair becomes a less stressful task when you follow a clear process—identify your curl type, prep with moisture and slip, use the right tools, and work in small, controlled sections from ends to roots. Paying attention to how your hair responds in each step helps you adjust your approach and protect your curl pattern.
When you need extra help, a professional session with us can reset your hair’s condition and save you time. At The Curl Ambassadors, every appointment starts with an in-depth consultation to assess your hair type, density, and current condition. We provide curl-focused services and treatments, including ammonia-free color services, followed up with at-home care tips you can confidently follow. Whether you’re dealing with stubborn tangles or want to give your curls the healthiest start possible, our curl-specialist team is ready to help you see and feel the difference.