How you dry your curls can completely change the way they look and feel. The right technique helps your natural pattern take shape, while the wrong one can lead to frizz, uneven definition, or flat roots that don’t hold. For many people, the choice often comes down to two options: letting curls air dry or using a diffuser attachment with a blow dryer.
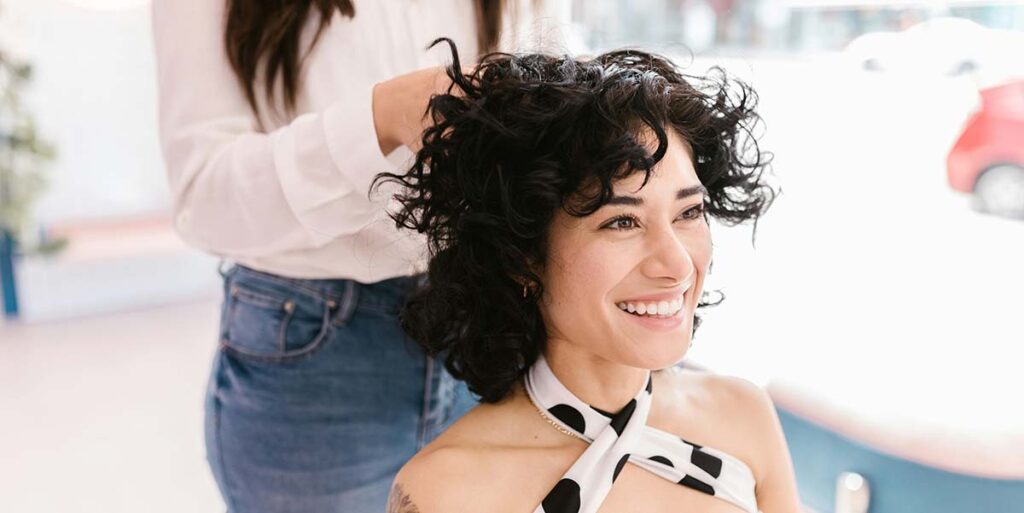
At all our curly hair salons, we walk clients through these decisions every day. In this blog, we’ll break down how curl type, desired results, and day-to-day routine all play a role in choosing between air drying or diffusing.
How Curl Type Shapes Your Drying Routine

Curl types vary in texture, density, and how they respond to moisture, and those differences directly affect how your hair should be dried.
Loose waves and soft curls (2A–2C) tend to dry quickly but lose volume or definition without structure. Tighter curls (3A–4C), especially those with high density or low porosity, hold onto water longer. If the roots stay damp for too long, curls can set unevenly or become prone to frizz near the scalp.
During each appointment at our salon, our stylists assess individual curly hair types to recommend a drying routine that supports, rather than disrupts, a client’s natural texture. Choosing the right method can help define your curls, cut down on frizz, and keep your hair healthy over time.
What Does a Hair Diffuser Do for Curly Hair?
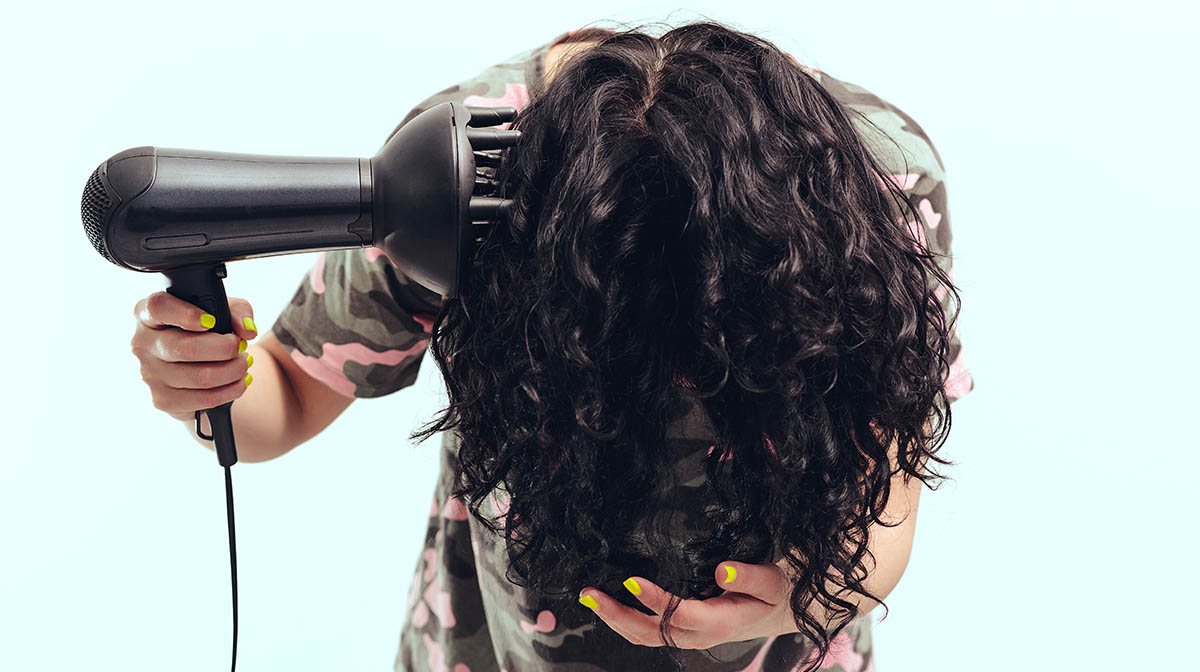
Once you’ve identified your curl type, the next step is choosing a drying method that enhances your texture rather than flattening it. When comparing a diffuser vs. hair dryer, the key difference is in how airflow is delivered. A diffuser is the round, vented attachment that clips onto the end of most blow dryers and disperses air over a wider area. Instead of blasting curls with direct heat like a hair dryer normally does, a diffuser softens airflow to reduce frizz and preserve natural curl shape.
When used correctly, a diffuser creates lift at the roots, encourages even drying, and defines curl clumps without over-manipulating the hair. It’s especially helpful for type 2 and 3 curls that need structure and volume during the drying process.
How to Properly Diffuse Curly Hair?
Drying curly hair with a diffuser works best when paired with the right technique. While the tool itself helps reduce frizz and protect curl shape, how you use it makes all the difference in your final results.
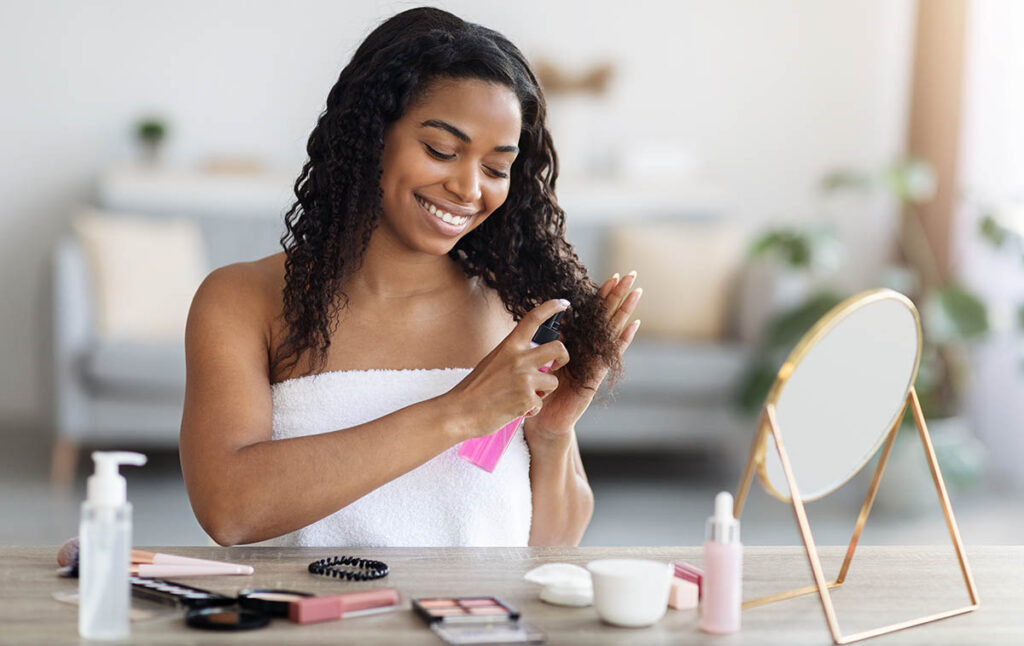
Start by applying a leave-in conditioner or curl-defining product while your hair is still soaking wet. Scrunch the curls from ends to roots gently with a microfibre towel or a cotton T-shirt, and avoid wringing your hair, as it disrupts the curl pattern and causes frizz. Once your hair is prepped, attach a diffuser to your blow dryer and set it to low or medium heat with reduced airflow. For technique, there are two common methods:
- Hover Diffusing: Hold the diffuser a few inches away from your curls and gently move it around your head without touching the hair. This method works well for looser curl types or anyone trying to minimize shrinkage while still reducing dry time.
- Pixie Diffusing: For anyone looking to build volume, lean your head to one side and cup a section of curls into the diffuser bowl. Gently lift the diffuser toward your scalp and hold for a few seconds before moving to another section. Repeat until your hair is about 80–90% dry, then avoid any frizz, and let it air dry the rest of the way.
How Long Does It Take to Diffuse Hair?
Dry time depends on your curl type, hair density, and how wet your hair is when you begin. For loose curls or waves with lower density, diffusing can take 10 to 20 minutes. Tighter textures or thick hair (3C–4C) may take 30 minutes or more to reach about 80% dryness.
Hover diffusing usually takes longer than pixie diffusing since you’re working with indirect airflow. However, rushing the process with high heat can cause frizz and disrupt curl formation. Most clients find the sweet spot by starting with a partial air dry and using the diffuser to finish the job with more control.
Should I Diffuse My Curly Hair with Hot or Cold Air?
Heat speeds up drying, but too much of it can cause damage or leave curls feeling dry and brittle. A low to medium heat setting with reduced airflow is safest for most curl types, especially when paired with a heat protectant. This approach helps form curl shape without frying the cuticle.
For finer or damage-prone curls, cool air diffusing is gentler and locks in definition while preserving moisture. The cool shot button on your dryer is also helpful at the end of your session to close the cuticle and reduce frizz.
Benefits of Air Drying for Curly Hair

Air drying or using a table dryer (shown above) gives curls time to form naturally with minimal disruption. For many people, this method works well when the goal is moisture retention, soft hold, and low manipulation. Because there’s no forced airflow, curls can set at their own pace, which often leads to smoother definition, especially in hair types that respond poorly to direct heat. This works best for our tighter curls (3c-4c).
Still, for clients who prefer a gentler routine or are managing heat damage, air drying offers a no-fuss alternative that gives curls room to bounce back. It’s a popular go-to during summer or on wash days when there’s no rush, and with the right styling products, air-dried curls can still hold shape, shine, and softness throughout the day.
How to Air Dry Curly Hair?
After washing, scrunch or blot curls gently with a microfibre towel or cotton T-shirt to remove excess water without causing frizz. Apply your curly hair products, like leave-in conditioner, curl cream, or gel, while hair is still wet. Arrange curls into place, then leave them untouched as they dry. Avoid fiddling with your hair during the drying process to prevent frizz and uneven definition. For extra root lift, clip sections at the crown and remove once fully dry. Finish by scrunching out any crunchy cast, if needed.
Pros and Cons: Diffusing vs. Air Drying
Deciding on the best way to dry curly hair depends on your texture, your schedule, and how much definition or volume you want. Some curl types respond better to one method over the other, but in many cases, it comes down to personal goals. Here’s how both methods stack up:
| Diffusing | Air Drying |
| Dries curls faster, especially helpful for thick hair, enhances curls | Takes longer to dry, which can be inconvenient for dense or low-porosity hair |
| Helps hold curl shape and reduce shrinkage during the drying process | Curls may stretch out or set unevenly while drying unsupported |
| Creates volume at the roots when used with upside-down or cupping technique | Often leaves roots flatter, especially on finer or looser textures |
| Works well for defining curls and maintaining styling structure | Best for soft, natural results without added structure or hold |
| Can cause frizz or dryness if heat is too high or technique is rushed | Eliminates heat exposure—good for fragile, colour-treated, or dry curls |
| Requires some technique and tools to get good results | Simple, low-effort option that requires minimal products or equipment |
| Better for styling curls with control and shape | Better for minimal styling, and when time allows for slower drying |
Final Verdict: Is It Better to Air Dry or Diffuse Curly Hair?
In our experience, clients with tighter curls or thicker hair often prefer the control and shape that diffusing offers. Those with looser curls or sensitive scalps may lean toward air drying for its low requirement and gentleness. We’ve found that the best results often come from combining both—letting curls air dry partway, then finishing with a diffuser to lock in definition and reduce total dry time.Not sure which method fits your texture best? Our curl specialists at The Curl Ambassadors help clients match drying techniques to their curl pattern, porosity, and lifestyle. Book a visit to try it for yourself! With expert styling, personalized education, and curl-friendly tools, we’ll help you get your best dry yet.